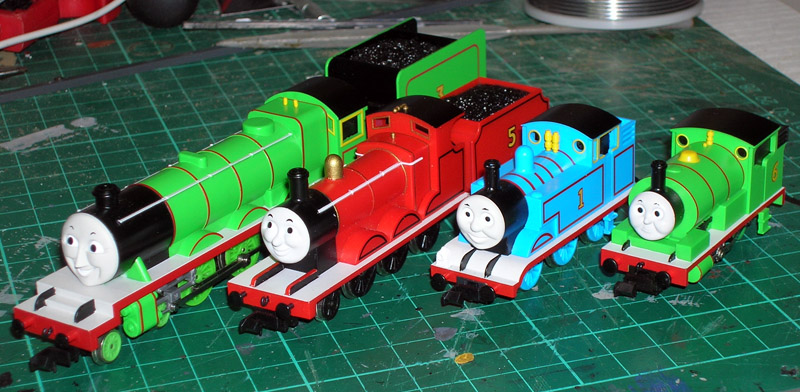
Group Portrait: (left to right): Henry, James, Thomas, Percy
The N gauge "Thomas The Tank Engine" range of models by Tomix have proven to be very popular with visiting children when I've taken my layout to model railway exhibitions here in the UK over the past few years. When the models came out there were brand licencing issues and I had to obtain items via ebay from the USA and Australia! I'm still not certain of the current legality of shops here offering them for sale, but there are several internet sources for you to purchase from.
Group Portrait: (left to right): Henry, James, Thomas, Percy
The models themselves are definitely aimed at the cheaper end of the market with only basic detail and a larger scale even when compared to British N gauge @ 1:148, but I have to say the locos all run sweetly and would put quite a few other N gauge locos to shame in that department! Little "Percy" even has a flywheel, and "Henry" is blessed with tender pickups and an unobtrusive method of passing power to the loco through the drawbar.
Sadly "James" failed recently at a show, and subsequent investigation proved that the motor had partially disintegrated internally. It is a cheap motor design without proper carbon brushes - only simple metal wipers, therefore effectively a "throw-away" unit.
A search of the internet failed to locate a direct Tomix replacement, and I had nothing suitable (in terms of dimensions that would fit) in my collection of salvaged motors. One possibility, however, was the motor from a cheap and readily available Kato "Shorty" chassis 11-105 which I've used before in other projects. I ordered a couple of chassis from PlazaJapan via ebay as this is still cheaper than sourcing locally.
The most difficult aspect of replacing the motor was removing the worm from the original in order to re-use it. I used a "Worm Puller" device, it's especially important to do this step carefully to avoid damaging the brass worm.
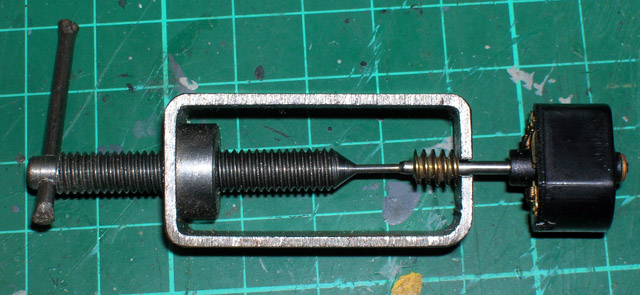
Worm Puller used to carefully remove the worm from the old motor (Note: the motor shown here is NOT from the Tomix loco, I forgot to photograph this step!)
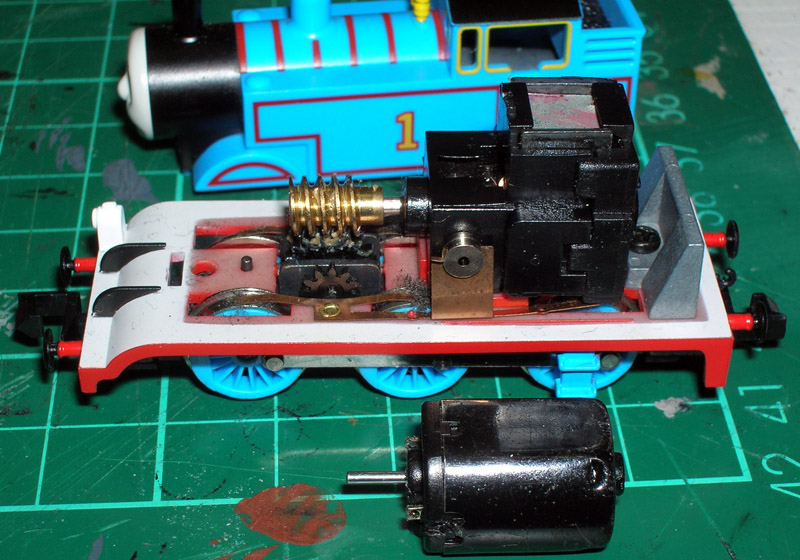
The new motor was easily removed from the clip-together Kato chassis. It is actually smaller than the original, but with the same shaft diameter which saves a lot of trouble! It's also a "throw-away" design without replaceable brushes, so it'll be interesting to see how it lasts. It comes fitted with a plastic connector for a shaft drive, this is easily pulled from the shaft. The worm from the old motor was gently tapped onto the shaft, making sure not to put strain on the motor internals. The motor was then glued into place with quick-setting epoxy resin. Once this had set, the copper strips which had fed the original motor were shortened to keep them away from the body of the new motor, and small lengths of wire soldered in place to connect up to the new motor. I found I had to cross the wires over to maintain the correct direction of running.
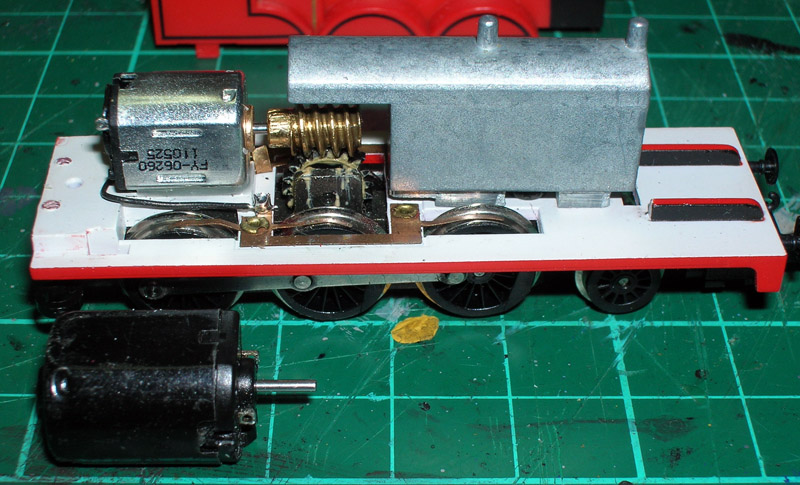
The new motor glued into place and wiring fitted. Also shown is the old motor for comparison.
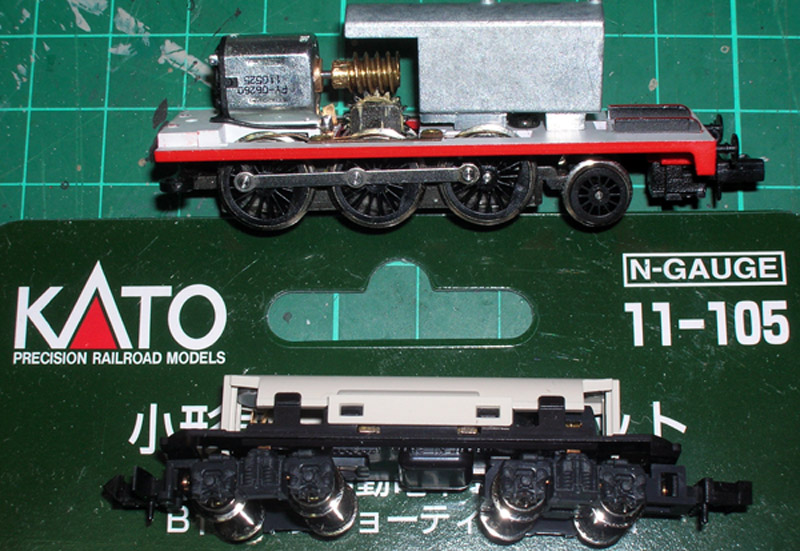
Kato 11-105 chassis which was the source of the new motor
"James" is now alive again and running nicely!
Perhaps a touch faster top speed than before due to the different motor characteristics, but nice and smooth.
I suspect that with a bit more research a similar motor may be available on it's own without the need to purchase a complete Kato chassis.
However the chassis was cheap, and the rest of it will be put to good use for something or other!
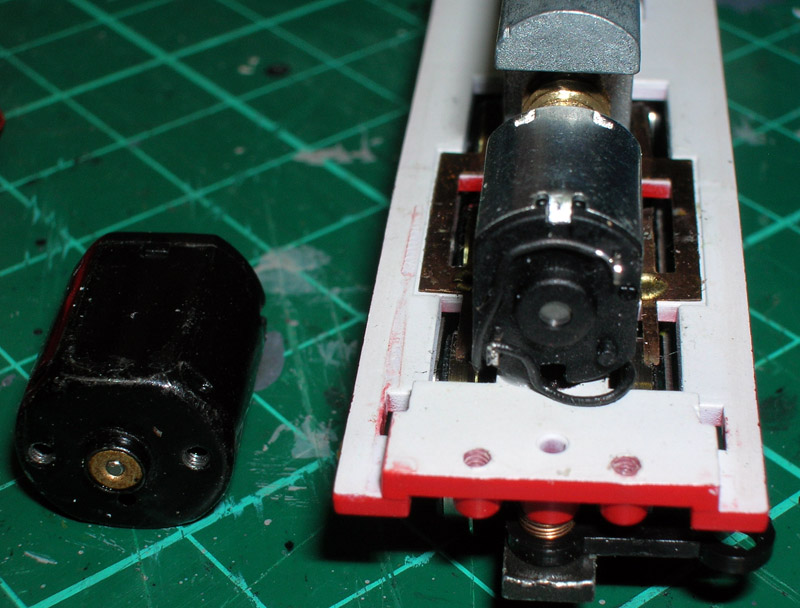
It's interesting to note that my "Thomas" model has a different motor design to "James" (I was expecting to find the same motor): he has a larger "proper" motor with brushes! I think I've read somewhere that there may be two different chassis designs for "Thomas", the other being a split chassis?
Thomas' chassis for comparison, also showing James' old motor. I hadn't had the need to open up Thomas before this photo, so also took the opportunity to remove that clump of debris seen on the middle pickups!